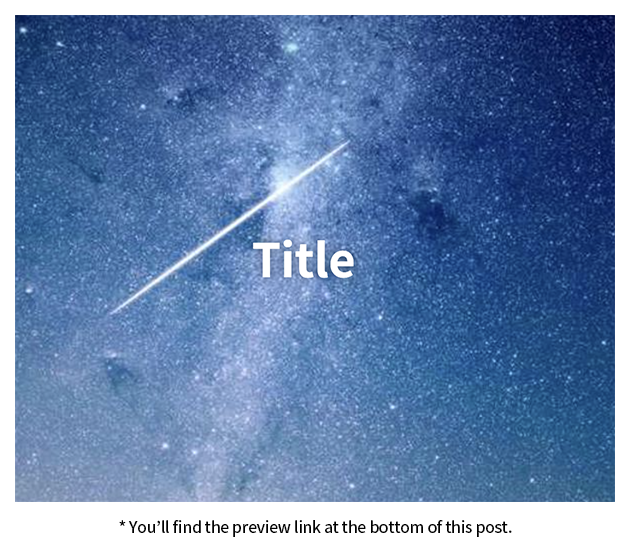
Want to create an engaging parallax effect that responds to mouse movement? Let’s build it together!
Adding dynamic elements to your website can capture visitors’ attention and increase page engagement time. A parallax effect that smoothly responds to mouse movement is particularly effective in enhancing visual appeal. In this post, we’ll explore how to implement a mouse-responsive parallax effect using jQuery.
HTML Structure
| |
- Container Structure
We place a background image and title text inside the container to create our parallax elements.
Each element has its own class to allow independent movement.
CSS Styling
| |
Container Styling
The container is set to a centered 600x600 area.
overflow: hidden ensures elements don’t escape the container boundaries.Background Image Styling
The background image is set larger (800x800) than the container to allow for movement.
This creates a more natural parallax effect.Title Styling
The title is absolutely positioned in the center with text shadow for better readability.
This element will also move independently with mouse movement.
jQuery Code
| |
Mouse Event Handling
Updates position information and sets the hasMoved flag when the mouse moves.
This prevents unnecessary animation updates.Parallax Effect Application
The applyParallax function takes a target element and movement factor to apply movement via transform.
Different movement factors create a sense of depth.Animation Loop
Uses requestAnimationFrame for smooth animation.
Only updates element positions when the mouse has moved.Controlling Parallax Direction and Speed
ThemoveFactorparameter inapplyParallaxfunction controls both direction and speed of the movement:
Direction Control
Positive values (e.g., 200): Elements move in the same direction as the mouse
- When mouse moves right → element moves right
- When mouse moves left → element moves left
- Creates a “following” effect
Negative values (e.g., -200): Elements move in the opposite direction of the mouse
- When mouse moves right → element moves left
- When mouse moves left → element moves right
- Creates a “pushing” effect
Speed Control
Larger absolute values (e.g., 200, -200): Creates more dramatic movement
- Elements move further from their original position
- Better for background elements or dramatic effects
Smaller absolute values (e.g., 50, -50): Creates subtle movement
- Elements stay closer to their original position
- Better for text or UI elements
Practical Examples
.bgwith-200: Strong opposite movement, good for background.titlewith-100: Moderate opposite movement, good for text- Using
200: Would create a strong following effect - Using
50: Would create a subtle following effect
Combining Different Values: You can create depth by combining different values:
- Background:
-200(strong opposite movement) - Middle layer:
-100(moderate opposite movement) - Foreground:
50(subtle following movement) This creates a 3D-like effect where elements move at different speeds and directions.
Parallax Effect Use Cases
Main Page Banner
Applying parallax to the top banner creates a strong visual impact.
Background and text move naturally with mouse movement, engaging visitors and encouraging exploration.Product Introduction Pages
Parallax effects can emphasize product features by creating a sense of depth.
Product images and text move at different speeds, creating a 3D-like viewing experience.Portfolio Gallery
Adding parallax to artwork images makes the gallery more dynamic.
Images move in 3D space as the mouse moves, creating an immersive gallery experience.
Conclusion
In this post, we’ve implemented a mouse-following parallax effect using jQuery.
The background image and title move naturally with mouse movement, creating visual depth.
This effect can be applied to your website’s main page or special sections to capture user attention.
We’ve also explored various use cases and performance optimization tips for real-world implementation.
By applying these optimization techniques appropriately, you can create smoother and more efficient parallax effects.
Feel free to leave a comment if you have any questions about the code!
